
One becomes two, three or even more: we will tell you how you can easily propagate your currant plant yourself in various ways.

The simplest and therefore also the most widespread method of propagating currants (Ribes) is to propagate cuttings. Propagation is also possible with the production and cutting of sinkers, but the propagation of cuttings with currants is much easier to do. We have compiled more details on the various methods for you here.
Propagating currants
Propagation by cuttings is a vegetative method of propagation in which a plant is cloned. This means that after a successful propagation - for example a 'Jonkheer van Tets' currant plant - you get one or more new plants of the exact same variety with all its characteristics. This is usually very desirable and a major benefit of vegetative propagation. When propagating currants in your own garden, however, this plus point is only partially beneficial. With currants, pollination improves when several different varieties are next to each other or at least in close proximity. This gives red (Ribes rubrum) and white (Ribes sativa) currants more and larger fruits and some black currant varieties (Ribes nigrum), which are self-sterile, another variety is even absolutely necessary so that fruit can develop at all. For this reason, it is not advisable to buy just one currant plant and multiply it after a few years.

In this way, several plants of the same variety grow next to each other and you miss out on a larger harvest that would be possible with planting another plant or two of other varieties. We therefore recommend that you exchange vegetatively propagated currants with neighbors or acquaintances, for example, in order to bring foreign varieties into your own garden. But you absolutely shouldmake sure that the foreign seedlings are he althy and that no pathogens are introduced.
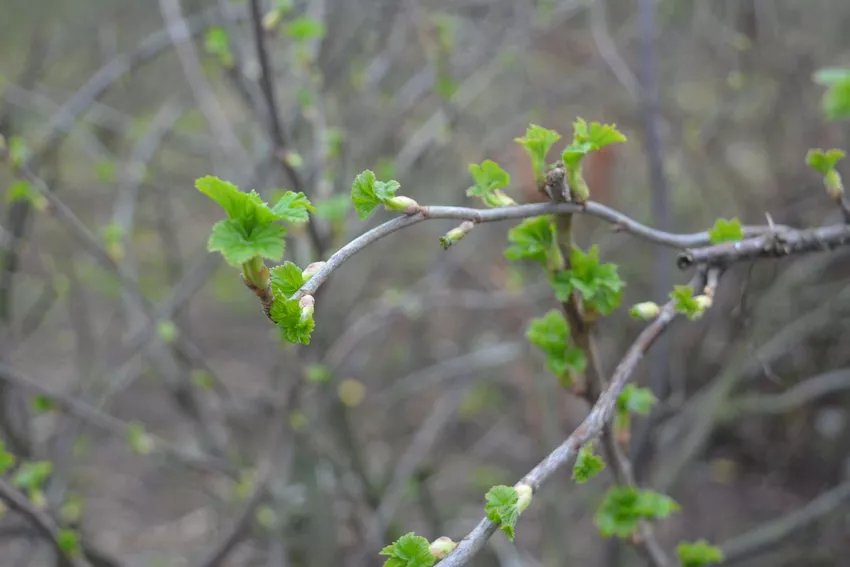
Propagating currants by cuttings
The term "cutting" is not quite correct in the case of currants. It is actually cuttings, since the currant shoots used for propagation are much more lignified than herbaceous cuttings. You can get these in autumn after the leaves have fallen or in early spring before the plant sprout. To do this, proceed as follows:
- Pick out one or more strong, he althy shoots. One-year-old shoots are best in autumn, and two-year-olds in spring.
- You can cut several sticks from one shoot. Each stick should be about 20 cm long and have at least two to three eyes, i.e. buds. Cut the sticks at an angle to prevent water from pooling on the cut when it rains, which could lead to fungal infections.
Tip: Use sharp and ideally disinfected pruning shears to cut the sticks.
- Prepare the seed bed or a pot with potting soil: A partially shaded spot with humus-rich, well-loosened soil is ideal for this. Covering the soil with mulch film protects it from drying out and keeps weeds away. A mulch layer of compost, leaves or grass is also suitable.
- Now insert the sticks into the ground so that at least two eyes remain above the surface of the ground. Make sure the buds are facing up.
- Finally, you still need a lot of patience. Water the cuttings when dry. The soil should always be slightly damp, especially at the beginning.
Finally, after a few weeks, the sticks will begin to form roots. After six months to a year, the cuttings are either planted in a larger pot or in their future location. Because the more space the roots have, the better they can spread. Beds have the advantage that you usually don't have to pay as much attention to an adequate water supply. You can dispose of cuttings that have not developed roots and do not sprout in the compost. When the first shoots are about 5 to 10 cm long, they are pinched, that is, their shoot tips are cut off. This promotes the desired branching of thecurrant bush. You can then expect the first harvest of the delicious sweet and sour currants about three years after propagating them yourself.
Propagate currants by lowering
Currants can also be propagated using layering, but this is not so practical, as fewer new young plants can be produced from a currant shoot in this way compared to propagation using cuttings. Lowerers live up to their name: a shoot is bent in such a way that it does not break, but can be placed in the ground at one point. There it is then fastened with a wire or stone.

The tip of the shoot is still sticking out of the ground. Roots form at the shoot site, which is in the ground. After some time, an independent plant has formed, which can now be separated from the mother plant. This is also a genetic image of the same.
Sow currant
We advise against sowing currant seeds. Above all, the fruit characteristics change significantly in the following generation due to the splitting. Unfortunately, this usually does not happen in the desired direction. Unfortunately, the berries are much smaller and their taste is often almost inedible sour.
After successful propagation, planting follows. This article will tell you exactly how to proceed when planting currants.