
If you sow a lot, you quickly forget what's actually in the pot. We show how you can make your own plant signs quickly and easily.

Which hobby gardener doesn't know it? You forget to label the sowing containers and after a while you are no longer sure which container will grow which little plant. The risk of confusion between freshly sown seeds and very young plants is relatively high due to the similarity of the seedlings, which can definitely become a problem. Because the care of plants is sometimes very different. Plant signs are the ideal remedy. When crafting plant signs, you can get creative yourself and try out alone or with the family which materials you prefer when crafting. We'll show you how easy it is to make plant signs yourself.
You don't need much to make plant signs. You usually already have most of the materials at home. Below are instructions for making plant signs using branches, chalkboards, cork, and clothespins.
Make plant signs out of branches
Plant signs made of wood are not only weatherproof and environmentally friendly, the natural material also fits perfectly in the garden. We'll show you how.

Required Materials and Tools for Branch Plant Signs
To make plant signs out of branches you need the following materials:
- Straight branches
- Thick felt pen
- Carving Knife
- Secateurs
How to make plant signs out of branches
To make plant signs out of branches, you first need several branches that are as straight as possible and that are neither too thick nor too thin. You can collect these, for example, during your next walk in the woods or inquire about them at the surrounding nurseries. The type of wood does not play a major role, but it should be easy to work with.
To finish the branches in the next step, trim off excess leaves and twigsremove with garden shears. Next, divide the branches into several parts, making sure that they are not too short or too long. For these two steps, we recommend wearing gardening gloves so that your hands are well protected. The length of the wooden sticks can also be based on the size of your plant.
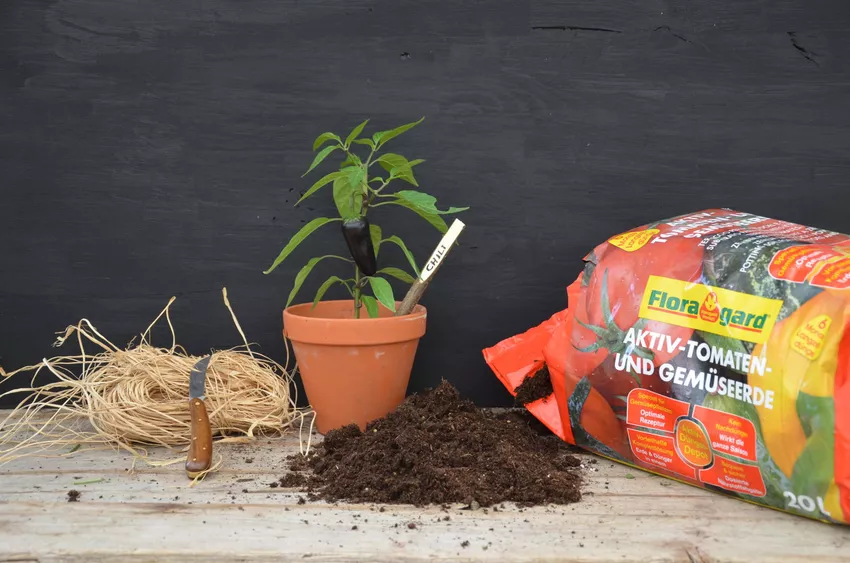
Then, use a carving knife to cut off a 4-5 centimeter long and a few millimeter deep layer of wood at one end of each wooden stick, revealing the whitish interior of the branch. You should now have an area on which you can write the name of the plant with a felt pen in the next step. You can also get creative and use different colors and fonts, for example. The labeled wooden sticks now only have to be stuck into the ground with the corresponding plants.
Plant Sign Making Branch Summary:
- Split branches into several pieces with secateurs
- Remove excess leaves and twigs
- Cut off a layer of wooden sticks with a knife
- Write the names of the plants on the white areas with a felt pen
- Put the wooden stick in the ground next to the corresponding plant
Make plant signs out of chalkboards
Chalkboards are available for little money in craft shops or online, for example. The small plaques can also be used and rewritten over and over again.

You need this for chalkboard plant signs
The following materials are needed to make chalkboards for writing on plants:
- Small chalkboards on sticks
- Ice sticks if the chalkboards come without sticks
- Chalk or white pencil
How to make plant signs out of chalkboards
Making plant signs out of chalkboards is child's play: First of all, you should make sure that the chalkboards are attached to sticks or spikes so that you can stick them into the ground. If this is not the case, you can glue wooden ice cream sticks to the back of the panels, for example. After that, all you have to do is write the names of your plants on the boards with chalk. Depending on how much space there is on the chalkboards, you can tooLive out your artistic streak and paint small pictures under the names. However, if you use chalk for writing, the chalkboards cannot be stuck in the garden, otherwise the names of the plants would immediately disappear the next time it rains. Instead, these plant signs are great for plants in covered locations, like the home or garden shed.

Chalkboard Plant Sign Making Summary:
- If not available, stick sticks to the boards
- Write the name of the plant with chalk on the blackboard
- Put the labeled board in the ground next to the corresponding plant
Make cork plant signs
Maybe you still have a few corks left over from the last wine night with your friends. These can also be easily recycled into Plant Signs.
This is what you need for cork plant signs
You don't need much for this plant sign variant either:
- Multiple corks
- Wooden skewers
- Thick felt pen

How to make cork plant signs
With the help of corks, wooden skewers and a felt-tip pen, unusual plant signs can be made in no time at all. First of all, get several corks, depending on how many plants you have, although size and shape are not particularly important. For more variety, you can of course also use colorful corks or paint them yourself. Next, take a thick felt-tip pen and use it to write on the corks the names of the plants you are making a plant tag for. Then all you have to do is stick the corks on wooden skewers and cut them to the right length if necessary. Your own extraordinary plant signs are ready and can be placed in the bed or in the flower pot.
Cork Plant Sign Making Summary:
- Write the names of the plants on the corks with the felt pen
- Put the cork on the wooden skewers
- Cut wooden skewers to desired length
- Put the wooden skewer with the labeled cork on the plant

Make plant signs out of clothespins
Clothespinsyou always have a few left over. The colorful clips don't necessarily have to be hanging on the drying rack, but are also ideal for making plant signs.
You need this for plant signs made of clothespins
It couldn't be easier: Labeled clothespins are the perfect plant markers, so all you need is:
- Clothespins
- Pens

How to make plant signs out of clothespins
Clothespins can easily be converted into plant markers for potted plants. The clothespins you use for this can be made of wood or plastic, depending on what you may already have at home. While plastic clothespins are weatherproof, we recommend using the more environmentally friendly wooden version. You can also color and decorate these more easily. Then simply write the names of the plants on the clips with a colored pencil or felt-tip pen and then clip them to the flower pots of the corresponding plants. You no longer have to worry about mixing up your loved ones and possibly caring for them incorrectly.
Clothespin Plant Sign Making Summary:
- Coloring and decorating clothespins
- Write the name of the plant on the clothespin
- Clothespin to the flower pot of the corresponding plant

If you've got the craft fever, you can find out more about instructions for alternative seed containers here.
 Receive our Garden Mail
Register now for our free garden mail and get great gardening tips and inspiration regularly in your email inbox.
By subscribing, you agree that we will regularly send you our newsletter about the garden and product offers by e-mail. You can revoke your consent at any time with effect for the future. You can find our privacy policy here.