
The witch hazel heralds the garden year with strong colours. But when is the right time to plant this beautiful tree in your own garden?

The witch hazel (Hamamelis) is a genus of the witch hazel family (Hamamelidaceae), which includes only five species worldwide. Hybrid forms from the two Asian species, the Hamamelis × intermedia, offer an unbelievable variety of flower colors from green, yellow, orange to red. This colorful sea of flowers breaks through from December to March the dreary winter landscape of your garden. Despite its filigree flowers and its brightly colored autumn leaves, the witch hazel is a very undemanding plant to care for. But the lack of care requirements are made up for in the planting, because long-term planning is required here. We will show you what needs to be considered when planting so that the noble plant feels at home in your garden.
Witch Hazel: When to plant?
The best time to plant a witch hazel is in autumn before the first frost. Fine root hairs can form in winter (as long as there is no frost). These are important for water and nutrient uptake and anchor the plant in its new location. If you have purchased container goods, they can also be planted in the spring after the last frost. With container plants, there is generally less attention to be paid when planting, because the plants grow much better.

Planting witch hazel: Choosing the right location
Witch hazel not only grows slowly upwards, root formation also takes time. It can take a good two to three years for the plants to take root properly. Only then does the first visible growth spurt occur. In addition, a change of location from this point on is no longer well tolerated. Therefore, think carefully about whether your witch hazel can stay in its place for the long term. Please note:
- Location: Sun to light shade, if possibleprotected
- Soil: loose, deep, permeable, fresh to slightly moist, very rich in humus
- Growth: 2 - 4 meters
- Crown diameter: 4 - 5 meters
- Very uncompetitive root system

To escape the cold of winter, the flowers curl up in frost and unfurl in warmer temperatures. In this way, temperatures of down to -10 °C can be withstood without damage. If the temperatures are too cold, however, the flowers can be delayed or even absent. It is therefore important to protect the otherwise very hardy plant from harsh easterly winds. It is even more important to pay attention to the properties of the soil, not only because transplanting should be avoided as far as possible, but because the noble shrub is very sensitive to drought, compaction and waterlogging.
Socialize witch hazel: Ideal bed partners for witch hazel
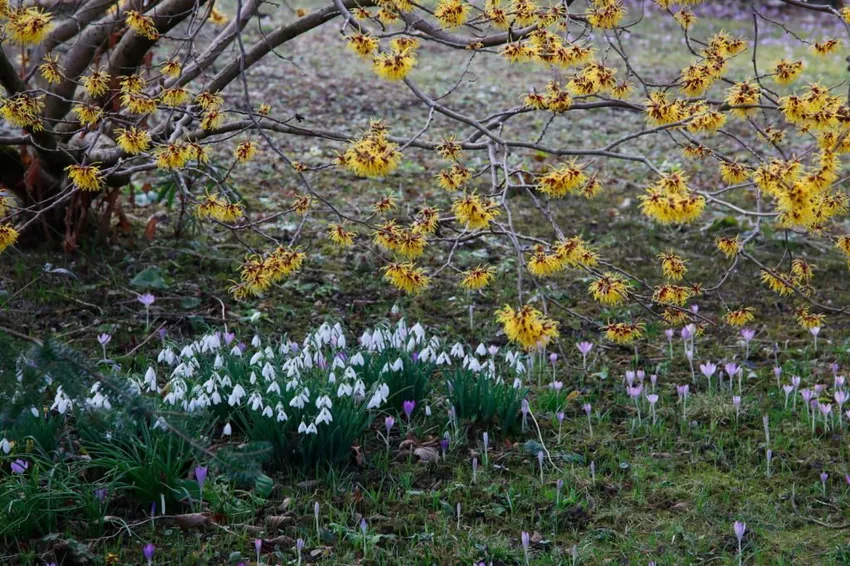
When choosing the green neighborhood, note that the roots of the witch hazel do very poorly against stronger ones. Therefore, after planting, do not use perennials or ground cover as underplanting, as these quickly compete with the witch hazel for water. If you want to add some pops of color under your witch hazel until it's rooted, you can use small bulb flowers like ray anemone (Anemone blanda), grape hyacinth (Muscari botryoides ) or snowdrops (Galanthus nivalis). If a few years have passed, the roots should be so well developed that they can be socialized on a larger scale. But even with established witch hazels, attention must be paid to the compatibility of the neighboring greenery. Tolerable are ground covers such as periwinkle (Vinca minor) and golden strawberry (Waldsteinia ternata) or early bloomers such as winter agaric (Eranthis) ) and Fairy Crocus (Crocus tommasinianus). Lungworts (Pulmonaria) and sweet violets (Viola odorata) are also less competitive and therefore good bed partners.
Note: The flowers provide the first food source for bees and bumblebees in the otherwise barren environment. Therefore, the witch hazel is an ideal planting for bee pastures. Check out our top 10 bee-friendly plants here.
Planting witch hazel correctly: The most important steps
TheWitch hazel should feel comfortable in its location for as long as possible. There are a few things to consider when planting. Good preparation of the soil is therefore an absolute must for the otherwise undemanding plants. In this way you give the less competitive plants an optimal environment to take root. When planting a bare root witch hazel, the roots must be soaked in water for about an hour immediately before planting. Then the roots are carefully loosened and separated. With container plants, these preparatory steps are omitted. Here you can start planting straight away.

For a sufficient supply of nutrients, you should enrich the excavated soil with which the plant will later be covered with nutrients. Our Planura organic universal fertilizer, for example, is ideal for this. If the soil at the desired location is particularly poor, you can also use a high-quality and nutrient-rich organic soil such as our Plantura organic universal soil.
Planting witch hazel at a glance:
- Loosen the soil well
- Planting hole: About twice the size of the root ball
- Enrich the excavated soil with compost or slow-release fertilizer and loosen it up well
- Put the plant straight in the planting hole
- Plant only deep enough that the root ball can still be seen on the surface
- Fill the planting hole with prepared soil
- Cover root area with bark mulch
- Do not work the soil after planting
The freshly planted witch hazel can be cut back a little. Here you can find out what to consider when cutting the witch hazel.