
Instead of buying lots of new plants to plant a large boxwood hedge, you can simply propagate your boxwood yourself. We tell you how.

If your gardening budget is limited and you still don't want to do without the beautiful boxwood (Buxus), it is worth using vegetative propagation methods - i.e. propagating your boxwood yourself. The prerequisite for this is that you bring a lot of time with you, because the box does not grow more than 10 centimeters per year. In the following article we will show you how propagation by cuttings, division and seeds works.
There are several vegetative methods to choose from for the propagation of boxwood. The most commonly used is propagation by cuttings. With it, many young plants can be obtained most quickly. Less common is the division of the bush - on the one hand because in this way fewer offspring are obtained from a mother plant, on the other hand because of the higher risk of failure. Propagation by seed is rarely practiced, but for the sake of completeness we want to go into it.

Propagating boxwood by cuttings
With boxwood, there are two types of cuttings, depending on the starting material: the older, woody cuttings or the annual, more herbaceous cuttings. Propagation via cuttings is preferably done in late summer or autumn. The reason for this is that by then the new shoots are already mature enough to withstand the rigors of propagation and a possible threat of fungal attack. If you prefer to make your own boxwood cuttings in the spring, you can try planting them directly in the garden soil if the weather and soil conditions are favourable. It is important: The location must be in the sun, fertilization is only done in the growth phase.
Large cuttings: boxwood cuttings
If a strong and bushy plant is used as a source, older, well-branched shoots can be pruned generously. Of these, about 15 centimeters long, they become biennialsShoots (recognizable by the brownish bark) torn off against the direction of growth. The shoot tips are shortened by a third to reduce transpiration, the lower third of the branch is freed from leaves and the protruding bark tongue, which can result from tearing off, is cut off. These so-called "large cuttings" or "cracklings" are then planted in pots with cuttings soil up to the base of the leaves, watered and kept constantly moist. The cuttings root best at room temperature. The advantage here is that these little plants are nicely branched from the start and can be transplanted outdoors as early as next year.

Small boxwood cuttings
If the available mother plant is still young or can only be pruned a little, one-year-old shoots are also suitable as cuttings. They should be more protected from frost over the winter and will probably take two years to plant out. When growing the seedlings on the windowsill, a small greenhouse or plastic bag can help create a humid microclimate. However, you should not forget to air it out every day to avoid promoting a fungal disease.
Propagating boxwood by division
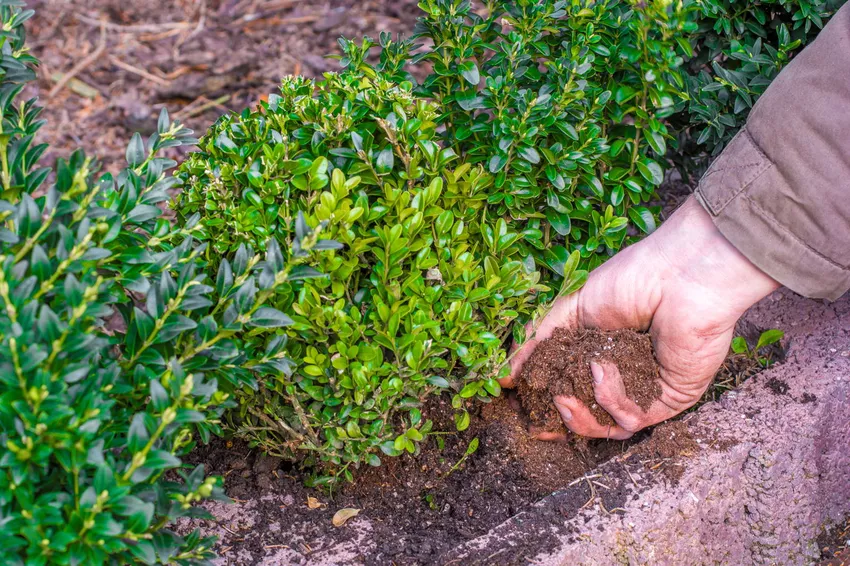
Division is also a possible method of propagating the boxwood vegetatively. The plant is generously cut out around the root ball, whereby the radius should at least correspond to the current height of the bush, because the volume of its root ball is often larger than the actual plant. The bale is then divided on a hard surface with a spade or saw. A new part of the plant should have at least two shoots in order to develop well. This is often difficult because the woody trunk of the box tree has to be cut through. This leaves cuts, which offer a welcome portal of entry for various pathogens such as fungi and bacteria. The subsequent planting can either be done directly outdoors at the original planting depth - the soil should then be mixed with good compost, the location should be shady if possible - or the divided box trees are placed in pots with calcareous potting soil, where they remain until the roots are complete.
Disadvantages of division compared to propagation by cuttings:
- She isless efficient, fewer young plants can be obtained in this way
- The large injury area forms an entry point for pathogens
- The new box tree has a leafy side and a bare side, even if the box does not necessarily shed all the inner leaves if it is rigorously pruned regularly
Propagating boxwood from seeds
For real enthusiasts, specialists and professionals, growing the bush from seeds might even be an option. This simple but time-consuming endeavor makes perfect sense if you plan to breed and create your own strain yourself. If you are determined to experiment, it will not be news to you that some varieties of boxwood will flower little or not at all and will therefore not bear seed. Passionate boxwood experts will probably not be put off by the fact that they have to wait 20 to 25 years for the first seeds, even with the flowering varieties. Depending on the variety, it takes between 30 and 190 days to germinate. All in all, the cultivation of the bush from seeds is rather uninteresting for most hobby gardeners. But who knows? Perhaps the method will prevail in the future when hot summers and persistent drought cause problems for the plant: in contrast to the cuttings, the seedlings tend to develop taproots that reach deep into the soil and can therefore still get to the soil water even in dry periods.

Instructions for growing boxwood from seeds:
- Prepare boxwood seeds: Boxwood seeds have a hard shell and need a cold stimulus (stratification) or mechanical scratching (scarification) to germinate. For scarification, place the seeds between two layers of sandpaper, gently roughen the shell with circular movements. This is followed by the cold stimulus: for stratification, the seeds are placed in the refrigerator at around 4 °C for two months. To do this, place the seeds between several moistened layers of kitchen paper and keep them constantly moist, but not wet, so as not to encourage fungus. Checking the seeds twice a week should be sufficient.
- Germinate and plant boxwood seeds: After preparing the seed, germinate at temperatures that are as constant as possible between 15 and 21 °C. As soon as the seeds break open and the first white root shoots appear, the seedlings can be planted. Prepare a small pot for each seedabout 5 cm in diameter. Put a thin drainage layer of gravel or expanded clay on the bottom and then fill the pot with special potting soil. This must not be too rich in nutrients so that the roots of the tender seedling do not burn. Plant the seedlings, root down, twice as deep as the seed is tall. In a bright place, water the potty regularly. The soil should never dry out, but it must not be too wet either.
- Care for the small box trees: After the first real leaves have appeared, you can start fertilizing with heavily diluted fertilizer. Within a year, the light-hungry seedlings should have developed into small plants that are five to 10 centimeters tall. The pots are now rooted and the small box trees can be planted out at their destination - preferably in the spring after the last frost.
If you would like to learn more about the correct care of your jack, have a look at our special article here.